Monday, September 5, 2016

NARS All Day Luminous Weightless Foundation- Oily skin


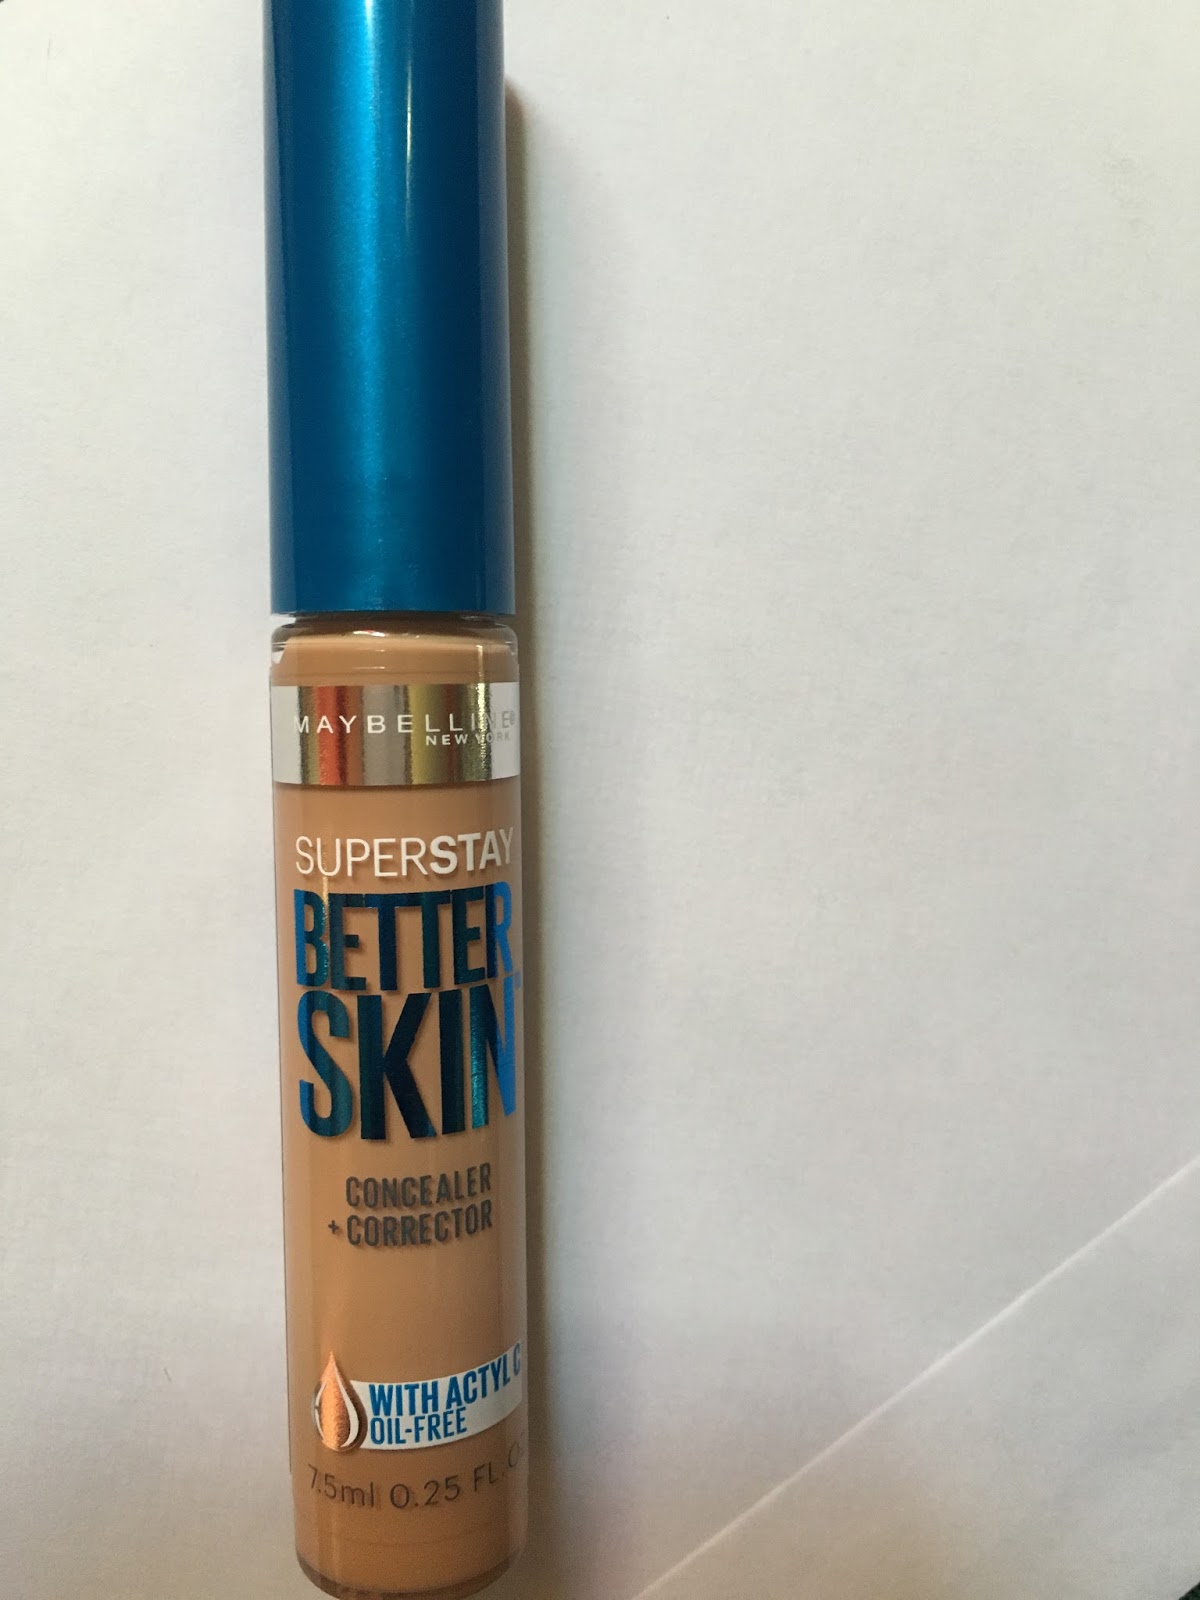
This was my first time using a foundation from NARS. I heard many things about the sheer glow one but I saw that people were loving the NARS All Day Luminous Weightless Foundation and decided to try it out myself. I am in the shade Syracuse. If you are an NC42 in Mac then this shade should be almost a perfect match.

Let's start with packaging. The foundation comes in a matte glass bottle with a pump (yay). Please excuse the dirty cap of my bottle. It looks very sleek and stylish and overall has a very nice look to it. The formula is AMAZING. It reminds me of water. They weren't lying when they said it was weightless. It is very runny so don't think you're going to pump some on your hand and then go looking for a makeup brush unless you like foundation stains (such a pain). I use a damp beauty blender to work one to two pumps on my entire face. It is easier to use your fingers to get the product on your face. I apply small dots all over my face and then use a damp beauty blender to bounce the foundation into my skin. This gives very good coverage and looks the most natural. It looks like your skin, but better. It also feels very light on the skin. The foundation sets to an almost dewy finish but doesn't feel oily at all. I have very oily skin so if it made me look even more oily, I would never have tried it a second time. This has been my daily foundation for the past two months since I purchased it. The ONLY downside that I found with this foundation is that it is not 100% transfer proof. I do tend to wipe it off with my hand if I do my face makeup before my eye makeup. Obviously, if you have this issue just do your eye makeup first and use a setting powder. I don't use setting powders so this might be the reason why I had that issue. Note, however, that even without setting powder my face does not look oily. As for how long this lasts, I have gone to work at 8:00am and came home by 9:00pm to adequate coverage. The only issue I saw was that my forehead became too oily and the foundation started to melt off a bit. I never touch up and never use powders so this is a pretty awesome product if that is the only downside. It photographs beautifully. No white cast, no line of demarcation. It looks super natural and beautiful. The price is pretty steep. I purchased mine at Sephora for about 48$. There is a great selection shades though, especially toward the darker skinned women. A single pump could ideally cover your entire face so it would last a while. I would recommend this foundation for girls who want glowy skin without the oily look.

Maybelline Better Skin Concealer in Medium


I love trying concealers out especially if they have wonderful reviews on multiple websites. While nonchalantly browsing the makeup heavy aisles of Rite Aid I saw one that I heard lots of amazing things about, the Maybelline Superstar Better Skin Concealer. I picked
up the medium shade     right away and set out to try and hide these raccoon eye babies known as my dark circles.


First, the packaging is cute and convenient. It has a wand with an angled soft tip and is small enough to stick in your purse. The content is 0.25 fluid ounces. The wand makes it easy to just apply the concealer to an exact spot on your face. When applying the concealer under my eyes , I had to dip in twice for ample coverage for both underage areas. I used my beauty blender to pat under my eyes and over the lid as well. This blends effortlessly. It was so easy to spread and even out. The coverage is great as well. However, my dark circles are bluish and I noticed it looked a bit gray. There isn't enough yellow or peach ton win here to hide really dark circles. I used the LA pro orange corrector under it and it seemed to work out better. To apply I mixed a little bit of concealer with the orange corrector to form a peach tint. I applied the concealer over top and blended it out.Throughout the day, it wears well with minimal creasing. You definitely need to set it or it will crease more.

Overall, this concealer is really good for everyday wear under the eyes if you have dark circles that are not prominent. If they're really bad like mine are, then you can use an orange corrector to help with hiding them more. Obviously, you don't want to go through that extra step with the corrector but here's hoping that you don't need it every day. The gray tint isn't very noticeable. Happy concealing!

Monday, September 14, 2015

MAC Studio Fix Fluid vs. Revlon Colorstay Foundation- Oily skin

These two foundations are constantly being compared.

MAC Studio Fix Fluid SPF 15
     This foundation is one of the best foundations I have found for my skin. Since I am of Indian skin tone, the shade NC42 matches seamlessly not to mention MAC foundations always give a glow to the skin. I apply the foundation with a flat top brush and buff it into my skin for an almost matte finish. It has medium coverage but you can build it up to be full coverage. The texture is very smooth and it blurs imperfections. When it comes to longevity, this foundation lasts about 6 hours on my skin. It claims to have 8 hour staying power but I found that it really doesn't last this long. My mouth area seems to come off first. It has SPF inside , so a slight white cast will result in photographs. If you would like more staying power I would recommend using a good primer underneath. The feel on the skin is very smooth and it sets in a good amount of time.


Revlon Colorstay Foundation
    The Colorstay foundation is a cult favorite. It is a great drugstore foundation that some are heavily dependent on for flawless coverage. I am in the shade 360 Golden Caramel. I used the findation website to match my skin with the MAC foundation shade. The main problem with this foundation, for me, is the shade itself. It has so many pink tones underneath that it makes my skin look too dark. My skin is naturally more yellow toned and the pinkish tint of the foundation clashes and makes my neck and face look different.  This is a big issue with drugstore foundations. The darker shades are too pink geared (boycott anyone?). It lasts very long, however. I wore this at 8 in the morning and came home at 6 in the afternoon and the foundation did not budge, at all. I was amazed. It covers amazingly well. The coverage is medium but can be built up to full. I use a flat top brush to apply it and blend it to my neck to avoid the dreaded face mask look. It looks great in photographs. The bottle I have does not have any labels acknowledging the spf content. I did see the new version online has an spf of 6.


MAC- perfect shade match, 6 hour wear, matte finish, great texture,
Revlon- shaky shade match, very long wear, matte finish, not as smooth as the Studio Fix.
Both are great for oil control. They keep the shine at bay.

Friday, September 11, 2015

BEST CONCEALER FOR INDIAN SKIN- The Horror of Dark Circles

I am of indian descent and I fall into the category of indians with dark circles. They might not be severe but they are dark enough to affect me daily. This has been a constant struggle for me and it is one of my biggest insecurities. When I was in 7th grade my dark circles decided to pop up and ruin my life forever (LOL!). It didn't ruin my life but it did make it harder to be confident in myself. I had no idea how to use makeup at all and ended up using one of my mom's Dior concealer which was way too light for my skin. It was so horrible that some girls even teased me about it. I have only recently been comfortable without anything around my eyes and I think it's a great thing. I do like to hide my raccoon babies though and I believe I have found the most awesome concealer ever. Yes I said it.I am on my 6th bottle of this concealer and I don't think I can live without it ( even though I can, if you force me). The big winner is....... MAC Prolongwear Concealer. My skin shade is NC42 and I have to say that this concealer is a lifesaver.


Advice on wearing it:

1. Please moisturize your eye area sufficiently. Nothing looks good on dry cracked skin. I know this because I use neutrogena deep clean cleanser and it dries my eye area out. Imagine my reaction after putting the concealer on top of my dry eye area. Coconut oil or vaseline are both good to use overnight.

2. Don't use a sponge unless you wet it. I found that sponges tend to absorb the product more than brushes do. If you are using a brush then remember to pat and not dab. Patting will utilize the product better by providing a more opaque finish. Dabbing will take some coverage away.

3. You might want to set this concealer using a powder because it can get into fine lines and exaggerate them a bit.

Remember that if you keep 6 empty containers from MAC you can get a free lipstick by returning them to the store.

DIY BODY SCRUB-The Power of Exfoliation

We all know how important it is to exfoliate. It helps to rid our skin of the dull, dead skin flakes that might hinder the smoothness we want . There are many places that sell exfoliating products , but the danger is that you don't know what's in them. Furthermore, if you are being abrasive to your skin with something dangerous, then you are essentially just making it easier for toxins to penetrate your skin. Another drawback is the price tag on some of the scrubs. I myself have used body scrubs from stores that are charging upwards of 30$ for a measly amount. The solution you ask? Make your own! There is nothing greater than the sense of achievement in making something yourself and an even greater sense of greatness when that thing does your body good!
     I have perfected this recipe to suit my skin's needs but you can adjust the amount of ingredients based on your skin's specific concerns.

What you will need:
1. Coffee- I used ground coffee and filled an 8oz mason jar 3/4 of the way up. Coffee is obviously used in a lot of body scrubs and this is because it has caffeine in it. Notice how caffeine is also in many eye creams to combat the darkness and make your skin look more alive. It naturally reduces inflammation and tightens the skin. You'll notice when you try  this scrub!


2. Extra Virgin Organic Coconut oil- Need I say more? Coconut oil is my holy grail product. I use it to remove eye makeup and for my oil pulling techniques. It has seriously improved my acne so much and so the benefits to your skin are even better in a scrub. I used about 1/2 a cup solid and melted it. Then I mixed it into the coffee grounds.


3. Almond oil- Almond oil is so great for a slew of things. I mainly use it overnight in my hair to keep it in great shape. Adding almond oil will give moisture and suppleness to your skin, resulting in a radiant glow. I used about 2tbsp.


4. Vitamin E oil- A few drops of this baby will prolong the benefits of your scrub making your skin feel baby soft after using the scrub. If you have extra dry skin I would recommend putting more than the 1tsp I put in. 


I used a good amount of liquid products and mixed it in with my coffee grounds and this is because I prefer a wetter scrub. I know some people like to use their scrubs dry without any water but I prefer it with water. If you are one of these individuals then go right ahead and reduce what you think your skin doesn't need as much. Another tidbit is that you can add any essential oil to amp the fragrance output. I love the coconut and coffee smell so I did not do this.  
Mix all of these ingredients together and Voila! You are a genius for creating your own scrub! Skin loving ingredients that work to make you even more beautiful than you already are! Happy Scrubbing!!!

Thursday, April 23, 2015

TEETH WHITENING STORY :ACTIVATED CHARCOAL ,MY HERO


       Let's talk teeth whitening. No one wants to have nasty looking yellow teeth, especially someone who smiles a lot (moi). The first time I ventured into teeth whitening, I used Crest Whitening strips. The 40$ price tag alone should have been enough to stop but nonetheless, I persevered.  One of the prominent side effects included sensitivity. The pain was insane. The nerves in my teeth were in constant agony for about a week after one use.
 
I actually used another one but this one is the one I bought the second time, thinking it would be less sensitive. It was not.

I stopped using the strips because of this and gradually my teeth started to become yellow tinted again. Then about 3 months ago, I saw Youtubers reviewing the Whitening Lightning Kit. Their reviews looked great and they had coupons codes.  Why not purchase a 100$ kit for only 40$ right?

      It came in the mail and excited little me rushed to open it. I was excited for pearly whites again without any sensitivity. I used it once. NOTHING. I used it twice. NOTHING. My money had gone to waste. I noticed faint whitening of my front teeth but nothing significant. By the end of the week ,this had gone away and my teeth looked EXACTLY the same as before I used the kit. I was frustrated trying to find a solution. My next stop was the drugstore. I had seen Kandee Johnson use the 5 minute whitening gel. I tried to use it. I really did, but it was so messy and the gel felt yucky in my mouth. It only whitened the tiniest bit.

      Now for my savior, the grand duke of teeth whitening products, the creme des dents if you must, ACTIVATED CHARCOAL. Cue the trumpets please!!!!!!

   So what is activated charcoal  you say? Well it is a form of charcoal that has been reheated and oxidized ( for you science people).The medical use for this stuff is absorbing gas (don't say ew) in the stomach. What makes it so convenient for teeth whitening is its ability to adhere to the things that cause stains on your teeth. Seeing as no-one wants to go to the drugstore and ask for this ( the workers will look at you weird, believe me, its happened to me), I recommend purchasing online. It's also cheaper online. One capsule is usually enough for me. I break the capsule open and pour the contents into a small plastic dish. Then I dunk a toothbrush in it and swirl it around until it is thoroughly covered. I brush my teeth regularly for two minutes and then rinse. I have seen people do this for upwards of five to 10 minutes but I would imagine the charcoal particles are a little rough on your enamel. Better to be on the safe side.
   After I am done using this , the sink is always covered with splashes of black from me scrubbing my teeth, so be prepared. This is no little clean task which you will embark on. When I was brushing it looked as if I could be a pirate on the Black Pearl.This journey is dark, literally. But the light at the tunnel is the awesome results! The first time ,you will see a huge difference. If your teeth are deeply yellow you might need something stronger than activated charcoal but if you're like me and  just need to remove stains , this should work for you. Happy Brushing!

Sunday, November 30, 2014

GLAM GLOW Supermud Mask


Skin type: Combination oily, acne-prone, slightly sensitive

Duration of use so far: 2 1/2 months

Reason for use: inflammation of hair follicles, cystic hormonal acne, acne scars, oil control

DESCRIPTION OF PRODUCT: This mask is advertised as being beneficial for a range of problems including razor bumps, acne, ingrown hairs, blackheads and whiteheads and is also used to brighten up the skin.


Results: Decrease in pimple size and redness, smooth soft feel to skin, smoothing out of acne scars, reduction of inflamed follicles, glow to skin

         I have to admit that before I splurged on this mask I took a trip to Sephora twice to get a little sample. Let's pretend I wanted to make sure the product was awesome a second time around ;). The first time , I left it on overnight. It was surprising how well the mask stayed on. It barely budged even though I tend to move a lot during sleep. Being someone who usually has a hard time taking masks off,  I was expecting a struggle and the need to scrub. However, this stuff came off so easily with just some water.The soft feel of my skin was immediately noticeable. There was also a glow to my face and my huge red pimples seemed to shrink by half sizes. Needless to say, the results has blown me away. My problematic skin had calmed down in the redness and acne department and makeup was gliding on so smooth.
      The texture of the mask is very smooth with some eucalyptus leaves in there for grit. It is a dark gray color and the packaging is very nice. The big jar contains 1.2 fl oz or 34 grams of product. I have been using it for 2 and a half months and I still have about 1/3 of a jar left.I mainly use it for spot treatments most nights and do a full treatment every two weeks or when my skin looks dull. It smells a little herby most likely due to the many plant ingredients including peppermint oil and eucalyptus leaves but it is not bothersome to my senses at all. If anything it calms me down. The key players in this mask are listed below:

-ACNECIDIC 6% (trademarked by glamglow): this blend of 6 acids is apparently supposed to help unclog your pores and reveal brighter skin

-Activated X charcoal: this ingredient is the key for drawing up toxins

-TEAOXI (trademarked by glamglow): provides flavonoids (like the stuff in green tea). It has anti-aging benefits.

-K-17 Clay (trademarked by glamglow): clay has the ability to absorb excess oil and also toxins


TIPS TO  GET THE BEST USE:

1. Do not open the foil all the way on the jar. You could cause the product to dry out prematurely. I peeled half the foil off but left it attached so I could just re-cover the jar after I've opened it.

2. Transfer a little bit of the product into a smaller container to avoid drying out the jar. Many people have complained about the jar drying out.

3. Before you use the mask put an OIL on. Yes I know. You're like what??!?! I learned this trick from a Sephora employee. She said to press an oil into the skin to loosen up the debris. Then apply the mask and wait for it to dry. THEN re-WET the mask by spraying some water onto your face. This way you get maximum benefits. (I only do this when I have a big event to go to and Im spending the day prepping.)

4. Use overnight as much as you can. I find I can knock a pimple's life cycle by days when I use this overnight.